Blog post
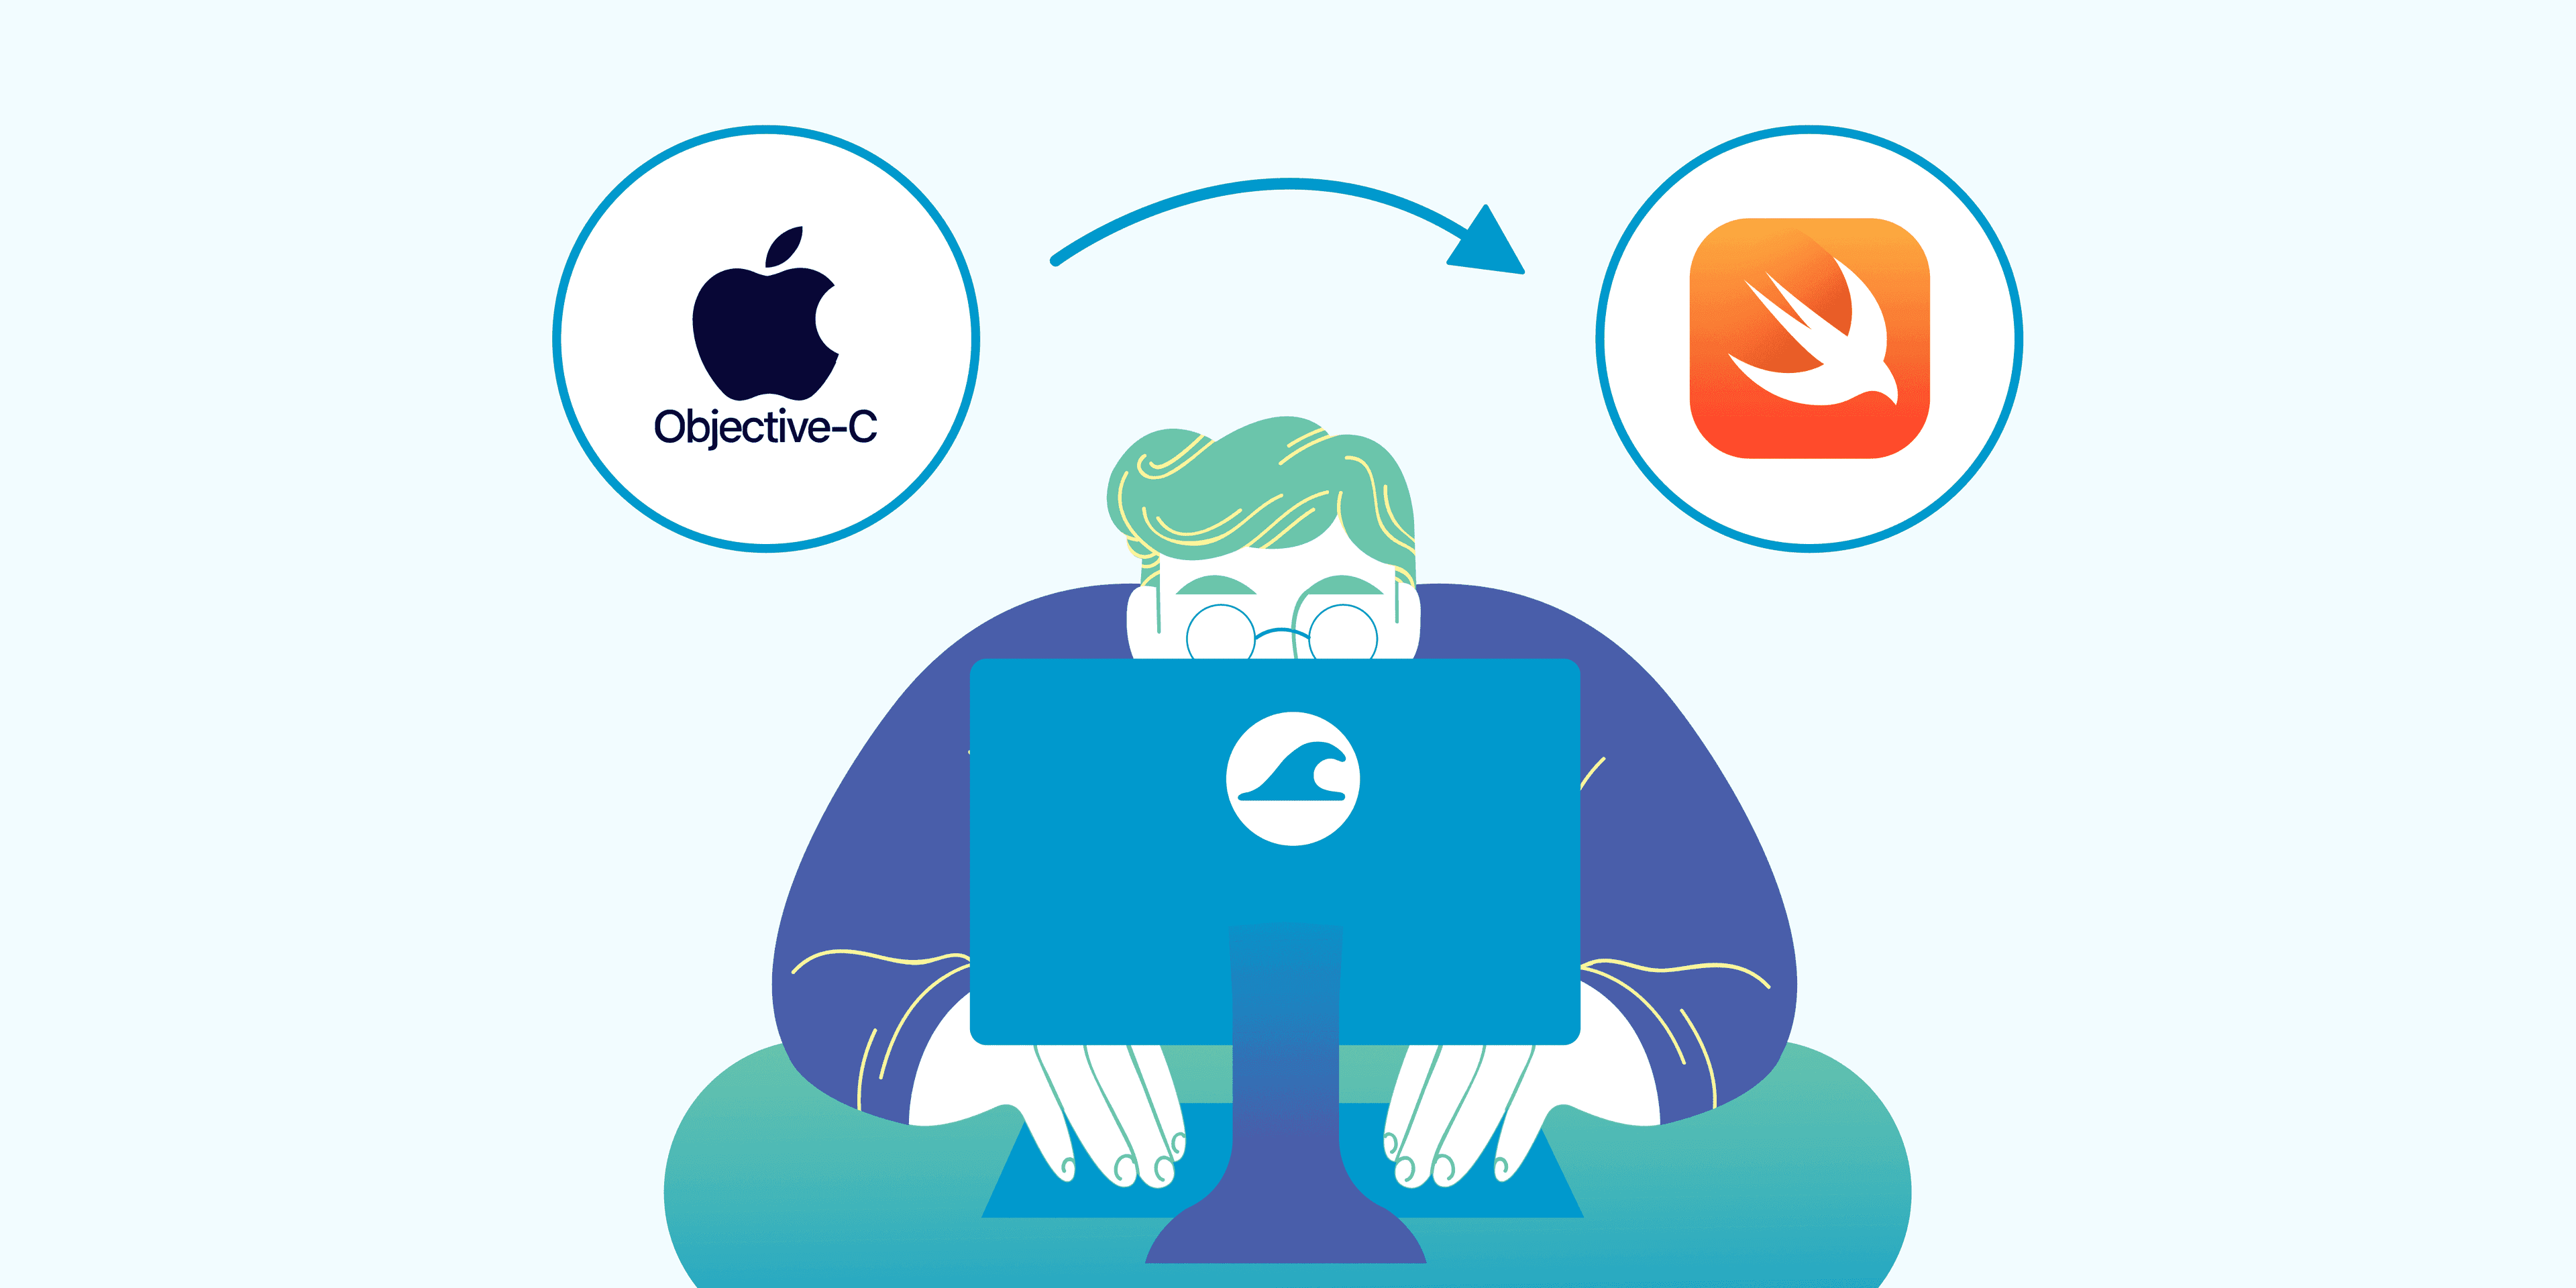
Even though Swift is the go-to language for iOS and macOS app development, you may still face the daunting task (and frustrations) of migrating a large Objective-C codebase to Swift. We have recently been working on such a project.
While there are some automated solutions, they all have their problems. We picked up some tips and tricks along the way and decided to document some of the things that we hope will help you if you find yourself rewriting a codebase yourself.
The basics
Just in case you're completely new to Objective-C, here is a little information. Swift code can run alongside Objective-C code, so you should rewrite your codebase piece by piece.
Objective-C code is split into two different file types:
A. Header files (.h)
The header file for a class contains public member variables and functions. Think of it as an API to your class.
B. Implementation files (.m)
The implementation file for a class contains the actual body of the functions, as well as other non-public methods and member variables.
In Swift, both of these are replaced by a single .swift file.
To be able to run Swift code alongside Objective-C code, you will need to create a bridging file. In this file, you will need to include imports for the code you want to use in Swift.
@objc and @objcMembers usage
The bridging header allows you to use Objective-C code in Swift. Another thing you need to ensure is to somehow expose the Swift code to Objective-C. This is done using the following attributes:
A. @objc
Exposes a method, property, or variable to Objective-C.
B.@objcMembers
Exposes all members and methods of a class to Objective-C.
When you have to expose a lot of code that uses the @objc annotation, you can mark the entire class with @objcMembers.
An alternative that might seem more appropriate is to separate such code into an extension and mark the extension with @objc.
However, if you’re hoping to rewrite the entire codebase into Swift, then you can expect you’ll be able to remove almost all the @objc attributes. So, it can be easier to remove a single @objcMembers attribute than many @objc attributes or refactoring an Objective-C-specific extension.
The trouble with private APIs
When rewriting a class with a private API used by another part of the codebase, you'll notice that private variables aren't accessible to Objective-C code when using @objcMembers. Essentially, what happens is that, while @objcMembers exposes the variables, private hides them again.
So, keep in mind that accessing private APIs isn’t recommended, but if you absolutely need it to make the project buildable, you can mark the private variables with @objc to expose them to Objective-C.
If you are rewriting a framework or library, for a class to be accessible, you need to also mark it as public.
Start from the bottom
Before you start rewriting your first file, be sure to keep in mind that an Objective-C class cannot inherit from a Swift class. So, when rewriting, try to start from the bottom of a class hierarchy, then work your way up.
For example, suppose you have a class Drink, and two classes Milk and Juice which inherit from the Drink class. Also, you have AppleJuice and OrangeJuice classes that inherit from Juice. In this case, you would first rewrite AppleJuice and OrangeJuice classes, then Juice and Milk, and only then would you rewrite the Drink class.
Data type differences and solutions
NS types (and the Steve Jobs side note)
If you're working with Objective-C, you've almost certainly encountered data types such as NSString, NSNumber and NSArray.
The NS prefix comes from NextSTEP, the operating system that became Mac OS X after Apple acquired Next, the company Steve Jobs founded after getting kicked out of the Apple Board of Directors. Funny how the world works sometimes.
Anyway, a lot of these types have been fully bridged to native Swift types, for example NSString is bridged to String in Swift. There are exceptions, however, perhaps most notably NSMutableArray and NSMutableDictionary.
The problem with these types is that they are reference types, while Swift arrays and dictionaries are value types. The basic difference between value and reference types is that copying a value type creates an independent instance, while copying a reference type implicitly creates a shared instance. As such, working with value types improves thread safety, as you can be sure that no other code is touching the object you are working on and mutating its state.
This difference between NS types and native Swift types can cause issues when, for example, an NSMutableArray is passed as an argument to methods, and you expect the method to mutate its state. Mutating a function parameter in Swift isn’t possible by default since they’re considered constants.
There are several options here:
- Use inout keyword
If you are dealing with reference types as function parameters, you can use the inout keyword. Parameters of this type mimic the behaviour of reference types. However, when calling the function, you need to explicitly mark the variable with an ampersand (&) to indicate that the variable can be modified by the function. - Refactor the code
Another option is to refactor the code in your rewrite so that you avoid mutating the state of the objects passed in as parameters. - Compromise with loss of type safety
Finally, you can simply use NSMutableArray or NSMutableDictionary types in Swift directly. This last solution unfortunately results in a loss of type safety because NSMutableArray can hold objects of different types, unlike Swift arrays which are generic structs and can only hold a single type. Because of this type safety issue, try to use this solution as little as possible.
NSArray and issues with sorting
Even though NSArray and NSDictionary are also reference types, none of the above issues come up when using them. This is because they don't change state, so it doesn't matter whether they’re reference types or value types.
You may still run into some issues though. It can happen, for instance, when using certain sorting functions on an NSArray.
While a Swift array can be sorted using only a Comparator or a closure of type (Element, Element) -> Bool, in Objective-C there are many more options. These include sorting using a selector of type SEL, a closure similar to the one above but returning an NSComparisonResult object instead, and descriptors.
Crucially, none of these sorting methods are directly compatible with their Swift counterparts, so it’s likely that any helper functions or sorters in the Objective-C codebase can’t have a direct Swift replacement. You will have to either switch to Swift closures in the format mentioned above or write an equivalent Swift Comparator.
Nullability, optionals and waiting for the crash
By default, references in Objective-C are interpreted by the Swift compiler as implicitly unwrapped optionals. This is because, for example, both NSView and NSView? are represented as NSView * in Objective-C, so in Swift this becomes NSView!. You can help differentiate between optionals and non-optional types by annotating your Objective-C code with _Nullable and _Nonnull annotations.
Depending on your codebase, the variables may or may not be well annotated with regards to nullability. If a variable isn't annotated, you must decide on its optionality in Swift. It may be possible for Objective-C to return nil for a non-optional variable in Swift. Usually, this nil is just ignored, but it can sometimes cause a crash because of an attempted null pointer dereference.
I suggest first following the annotations, then if you see that the variable is set to null somewhere else in the code or a crash occurs at runtime, mark the variable as optional. As far as I know, there isn’t really a better way to do this, and such crashes are unfortunately one of the biggest pains when rewriting to Swift.
Enums and the curse of circular dependencies
In Objective-C enums are represented as integers, which are primitive types. As a consequence, if you want a Swift enum to be accessible in Objective-C it needs to be backed by raw values of type Int, as well as marked with @objc and made public. Beware that this also means that Optional enums aren't accessible in Objective-C, since primitive data types cannot be null.
Usually there are a lot of problems with enums, since they’re often used throughout codebases. The most notorious problems are circular dependencies between Swift and Objective-C. In short, this happens when a Swift enum is used in an Objective-C class which is then again used in Swift. As a result, the code won’t compile, with an error saying the enum name is an unknown type. When this happens, the best thing to do is to just leave the enum in Objective-C and rewrite it later, after you rewrite the code in all the files where it’s used.
Methods and initializers
Make your method signatures Swiftier!
In Swift, method signatures are somewhat different than in Objective-C.
For example, the following method signature in Objective-C:
-(void) uploadFileData:(NSData *)fileData
withName:(NSString *)fileName
toURL:(NSURL *)url
completion:(void (^)(BOOL success, NSError *error))completionBlock;
becomes the following in Swift:
func upload(
fileData: Data,
withName fileName: String,
toURL url: URL,
completion: @escaping (Result<Void, Error>) -> Void
) -> Void
A simple way to generate these is to click the “Related items” button, then select “Generated Interfaces” and choose the Swift version of your choice.
Another simple way to get a glimpse at the signature is to open a Swift file and start typing the name of the method, letting autocomplete give you the complete method call. However, we recommend the “Generated Interfaces” approach.
Sometimes you may want to modify this syntax even further to make it even Swiftier! In the above example, the method could become:
func upload(
data fileData: Data,
as fileName: String,
to url: URL
completion: @escaping (Result<Void, Error>) -> Void
)
This way the method call looks much easier on the eyes:
upload(data: fileData, as: "filename.dat", to: URL("https://example.com/upload")!)
Initializers may make refactoring unavoidable
In Swift there are two types of initializers, designated and convenience.
Convenience initializers can call other convenience initializers but must eventually call a designated initializer. Designated initializers must initialize all the member variables that require initialization before exiting and can only call a designated superclass initializer.
Calling a convenience initializer of a superclass isn’t possible in Swift, but it’s possible in Objective-C. This means that you will almost certainly need to refactor the initialization of classes that call convenience initializers of their superclasses, such that they call the designated initializer instead.
Another thing to watch out for is returning null in an initializer. To enable this in Swift, you need to use a failable initializer.
Furthermore, in Swift, self cannot be used before the super.init() call. This is possible in Objective-C, but it’s a code smell. Also, all non-optional types must be initialized at the super.init() call, but in Objective-C they may be left uninitialized. There’s a chance you’ll encounter these and that some refactoring will be necessary.
Resolve circular dependencies with forward declarations
Sometimes you can have two classes that depend on each other. For example, class foo that has a member of type *bar, and class bar that has a member of type *foo. This leads to a circular dependency. Forward declarations help resolve this by declaring that a class exists, without providing a complete specification for that class. Then, instead of importing a header file:
#import "UserProfile.h"
you simply provide the class declarations for all the classes in the header file:
@class UserProfile
As you rewrite your codebase, you will likely need to replace imports for your rewritten classes with forward declarations in your header files.
Hacks in Objective-C
Objective-C allows us to do some pretty crazy things. We can make a pointer to an NSString and then suddenly use that same pointer to point to an NSMutableArray of other objects.
You can also make use of hacks such as method swizzling. The scope of these possibilities and the various contexts in which they can be used are far too broad to cover here.
A lot of these are not available in Swift, and for good reason. They can cause hard-to-debug crashes and increase the risk of memory leaks and other memory-related errors. Ultimately, this means that rewriting some of the code won’t be very straightforward and you may have to resort to significant refactoring.
Recap
To summarise all of the above, here are some tips as well as a short ordered list of things to do when rewriting a class.
General tips
- Start rewriting from the bottom of a class hierarchy.
- Be careful with how you rewrite reference types.
- Sometimes the best thing to do is to use reference types such as NSMutableArray in Swift, and refactor later.
- As enums can cause a lot of headaches, and if they cause problems, leave them in Objective-C and deal with them last.
- Have patience.
Steps for rewriting a class
1. Create a new Swift file.
2. Rewrite member variables, function signatures and the rest from the header file and mark them as public.
3. Go through the implementation file, filling the bodies of public methods and adding the private ones.
4. If there are any issues with a rewritten enum, keep it in the Objective-C file and rewrite it at the end.
Rewriting a codebase can be a long and challenging process, but hopefully these tips can help you in your efforts to create a codebase that’s more easily maintained and in line with up-to-date best practices.
For a more comprehensive guide with more details, you can check out Apple’s official documentation on migrating from Objective-C to Swift, or if you’re having trouble with something in particular, you can reach us at ios@undabot.com.